aka How to Install vim-plug in Neovim
Me and Vim have a love/hate relationship.
I love using it… until I remember I remember zero keybindings annnnd then I have to search multiple articles every time I want to do anything in it. Especially leave it.

But here I am again, trying to do development in Vim.. again… for reasons. Mostly it is because sometimes you just want something more lightweight for coding. Maybe you find yourself in a different language then your normal one, or you just want to bust out a tutorial but you don’t want to have to make a brand new project. Or maybe you just want to see what all the fuss is about. Whatever the reason, it feels like there is a certain amount of knowledge you need even to get started. Even to install the darn thing.
So, there I was attempting to push some React into my backend loving brain, when I started down a rabbit hole.
I opened the code examples in Neovim (which is Vim, but with some spice) but then I realized I probably would want to be able to do some searching through the code examples. To do that you need Plugins. Then if you want those, you probably want a Plugin Manager... and that there was where my rabbit hole took me. What manager? How do I install the manager? Wait, I need Python? And I am out of date?!? Oof and all I was trying to do was attempt a React tutorial 🤷.
So upon attempting to open my Neovim editor today with multiple errors from my ill-fated and aborted plugin manager journey from yesterday, I was able to get straightened out with some help from Christian. He was able to get me straightened out AND I was even able to get Plugins, and a Plugin Manager installed with much less fuss.
My main problem was installing vim-plug, but into Neovim, not plain old Vim. Whenever you do something custom or slightly different (I’m looking at you bash instead of zsh) it always seems like that exponentially adds to the amount of articles you are going to have to wade through to find the answer.
What I needed to do was create an init.vim file (a configuration file just for Neovim).
touch ~/.config/nvim/init.vimAnd then install vim-plug
curl -fLo ~/.config/nvim/autoload/plug.vim --create-dirs https://raw.githubusercontent.com/junegunn/vim-plug/master/plug.vimBut the important part was where I was putting it, in the .config folder where my configuration file (init.vim) is at, and into the autoload directory.
Then you are all ready to install plugins to your heart content in Neovim.
Create yourself a new nifty ~/.config/nvim/vim-plug/plugins.vim file. For ex. start with adding a different default file explorer plugin NERDTree
call plug#begin('~/.config/nvim/autoload/plugged')

    " File Explorer
    Plug 'scrooloose/NERDTree'

call plug#end()
With your separate plugins file ~/.config/nvim/vim-plug/plugins.vim you need to tell your init.vim file to use (or source) this file. You can do that by adding the following into init.vim
source $HOME/.config/nvim/vim-plug/plugins.vimNow let’s install and use this plugin.
Open up Neovim, in your terminal type in nvim. Check on your plugins status, one plugin was added into your plugins file but we haven’t actually installed it yet.
So with Neovim open, hit Esc to go into Command mode. Now this may not be needed but if you are in any other state this like Visual mode this gets you back so you can actually put in commands. From there you run
:PlugStatusLet’s get that plugin installed now, go back into Command mode (hit Esc) and then run
:PlugInstall
That’s it. The plugin is installed 🙌🏼. You can now update :PlugUpdate your plugins when you like, and go wild and install some more too.
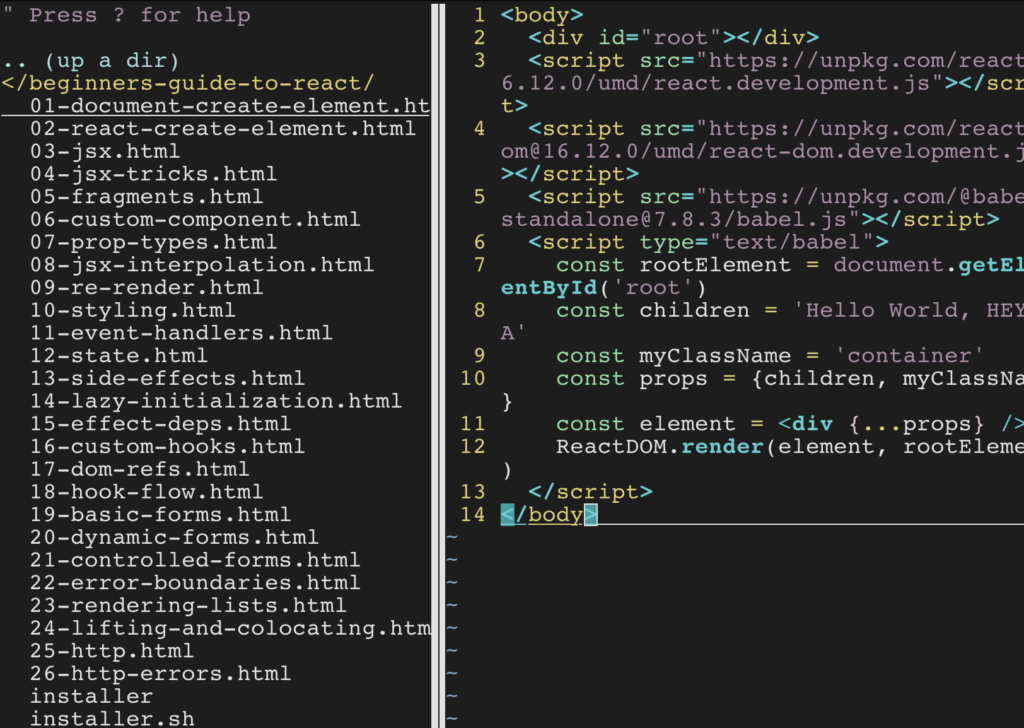
I wanted to check on how NERDTress was working, so I went back to my React tutorial directory and low and behold I have files! To use my newly installed plugin, I opened up one of my html files, then typed out :NERDTree

Now back to my React learning…phew.

